DIY Projects for Preserving Memories: Creative Ways to Keep Moments Alive
Memories are treasures that stay with us forever, and we often want to find ways to preserve and celebrate them. Whether it's a family vacation, a birthday celebration, or a quiet moment with loved ones, DIY projects help you turn those memories into something special and lasting. In this blog post, we'll show you simple DIY ideas for preserving memories that anyone can try. These projects are fun, creative, and affordable. Plus, they make for thoughtful gifts or beautiful keepsakes for your home.
1. Create a Memory Jar
A memory jar is one of the simplest DIY projects. It is perfect for collecting special moments over time. All you need is a jar, small slips of paper, and a pen or marker.
How to do it:
- Pick a jar you like. It could be a mason jar, an old jam jar, or even a decorative container.
- Write down memories on small pieces of paper. They could be funny quotes from friends, sweet moments with family, or personal achievements.
- Add dates to each note, so you can look back and remember specific moments.
- Fold the papers and drop them into the jar.
Over time, your jar will fill with happy memories. When you're feeling nostalgic, open it up and read through the notes to relive those moments.
2. Design a Memory Scrapbook
Scrapbooking is a classic way to preserve memories, and you can personalize it however you like. You don’t need to be an artist to create a beautiful scrapbook—just gather a few supplies and let your imagination guide you.
What you’ll need:
- A blank scrapbook or notebook
- Printed photos
- Colorful paper, stickers, and markers
- Glue or tape
How to do it:
- Start by printing out your favorite pictures. These could be from vacations, birthdays, or just snapshots of daily life.
- Paste them into the scrapbook and decorate each page with stickers, doodles, and captions.
- You can also include ticket stubs, postcards, and pressed flowers to add extra charm.
Every time you flip through your scrapbook, it will take you back to those wonderful moments.
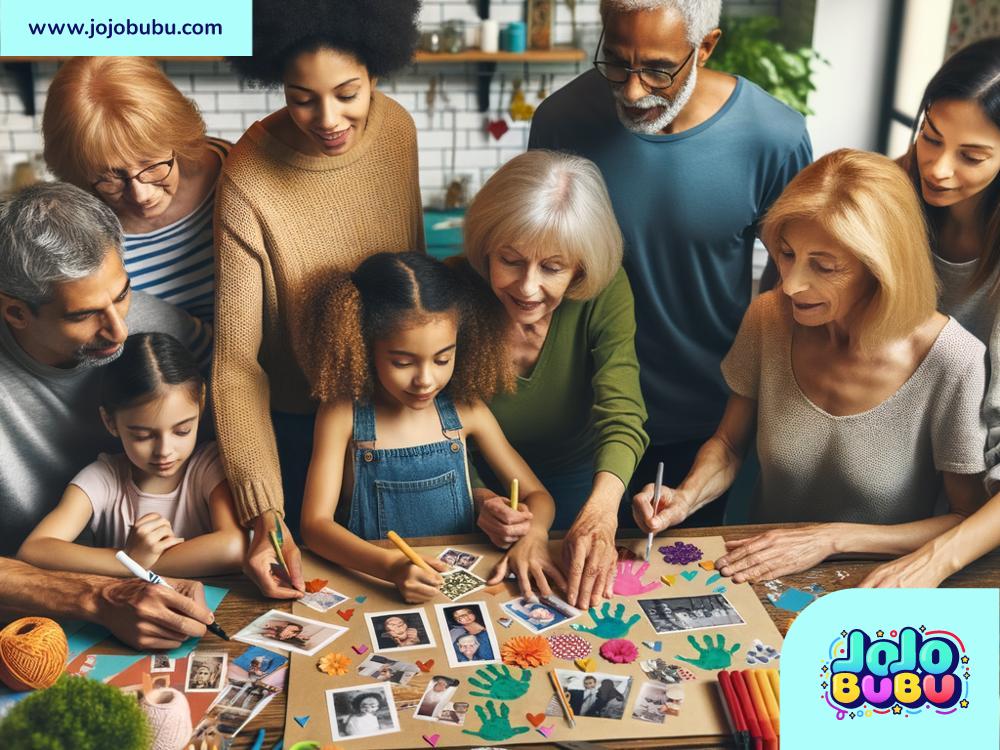
3. Make a DIY Photo Collage
A photo collage is a fun way to display your memories where everyone can see them. It’s easy to make and can brighten up your space.
What you’ll need:
- Printed photos
- A piece of cardboard, a corkboard, or an empty picture frame
- Glue, tape, or pushpins
- Optional: string and clothespins
How to do it:
- Arrange your photos on the cardboard or corkboard to create a collage. You can overlap them or space them out—it’s up to you!
- Add text or small decorations like stickers and cut-outs.
- If you’re using string and clothespins, you can hang the photos in rows inside the frame for an artsy look.
Hang your collage on a wall or keep it on your desk to see your favorite memories every day.
4. Try a Keepsake Box
A keepsake box is a wonderful way to store meaningful items that remind you of special times. These could be small souvenirs, notes, or even pieces of nature like seashells or leaves.
How to do it:
- Find an empty box. You can use a plain wooden box, a shoebox, or any sturdy container.
- Decorate the outside of the box using paint, stickers, or markers. You can even label it with a title like “My Memory Box.”
- Fill the box with items that hold sentimental value—your child’s first drawing, a concert ticket, or a handwritten letter from a loved one.
Whenever you need a dose of nostalgia, open the box and relive those precious memories.
5. Make a DIY Calendar of Memories
Instead of using a regular calendar to track days, why not make one that celebrates the past year? Each month can display a different photo or memory.
What you’ll need:
- A plain calendar (or make one from scratch using paper)
- Photos
- Glue or tape
How to do it:
- Choose a photo for each month that captures a memorable moment.
- Attach the photo to the page corresponding to that month.
- Add short captions, like “Family picnic in June” or “New Year’s Eve party.”
This calendar allows you to celebrate your memories all year long.
6. DIY Memory Coasters
Turn your favorite photos into coasters that you can use every day. These also make thoughtful gifts for friends and family.
What you’ll need:
- Small tiles or cork squares
- Printed photos
- Mod Podge (a type of craft glue and sealant)
- A foam brush
How to do it:
- Cut the photos to match the size of the tile or cork.
- Use the foam brush to apply Mod Podge to the tile's surface.
- Place the photo on top, then seal it with another layer of Mod Podge.
- Let it dry completely before using.
These coasters are not only durable but also a unique way to showcase cherished moments.
Final Thoughts
DIY projects are a wonderful way to preserve and relive your memories. Whether it’s through a scrapbook, a photo collage, or a keepsake box, these creative ideas allow you to hold onto moments that make life special. They are easy, affordable, and can be done alone or with loved ones. So gather your supplies and start crafting—your memories deserve to shine!

